> For the complete documentation index, see [llms.txt](https://docs.voicecloud.my/pbx/llms.txt). Markdown versions of documentation pages are available by appending `.md` to page URLs; this page is available as [Markdown](https://docs.voicecloud.my/pbx/common-problems/configuration-guide-for-yealink-phones.md).
# Configuration Guide for Yealink Phones
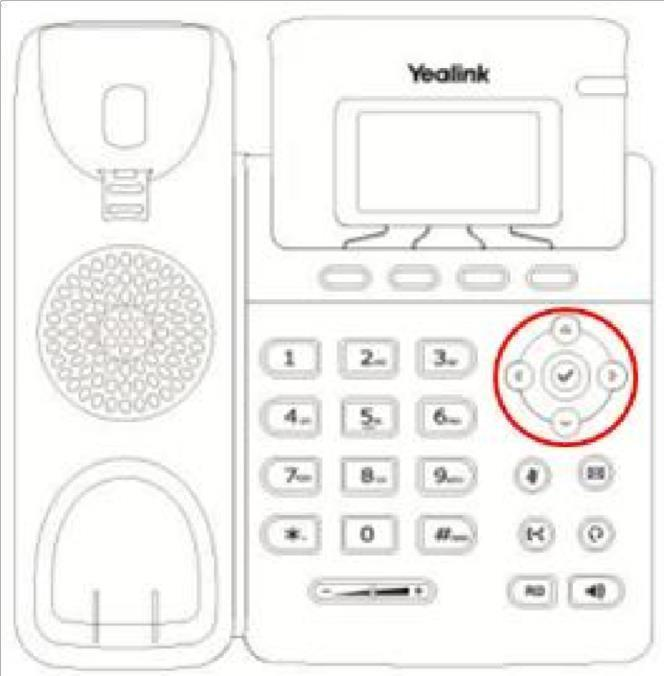
**View the IP Address of the Phone:** On the device's keypad, select the “V” button in the middle as shown in the image.
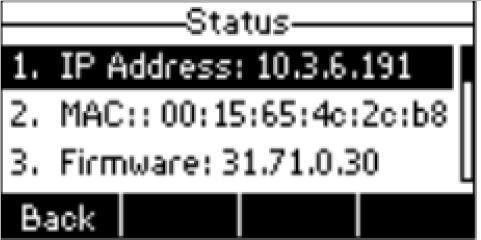
Retrieve the IP address information from the display screen on the device (similar to the illustration below).
Example of IP Address format: **10.3.6.191** (Note that the IP address may differ from this number.)
**Log in to the Device System:** Log in to the device's management web interface. Enter the device's IP address obtained in
Step 1 into a web browser such as Google Chrome, Firefox, Internet Explorer, etc.
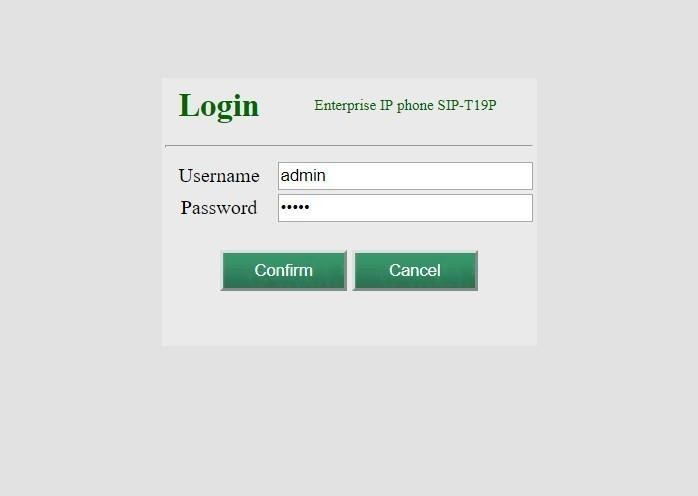
**Log in to the Device Management Account:**
Username and Password: **admin/admin**
Select “**Confirm**” to log in.
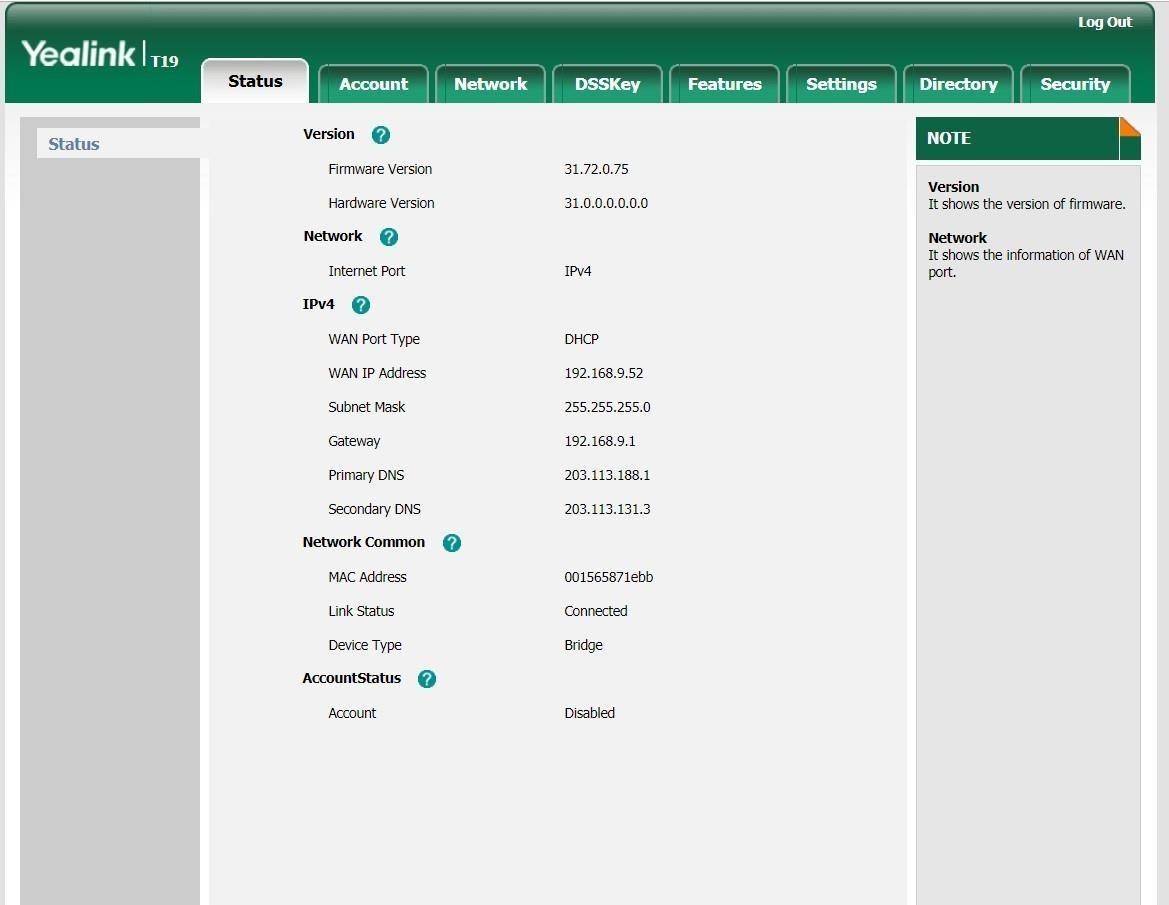
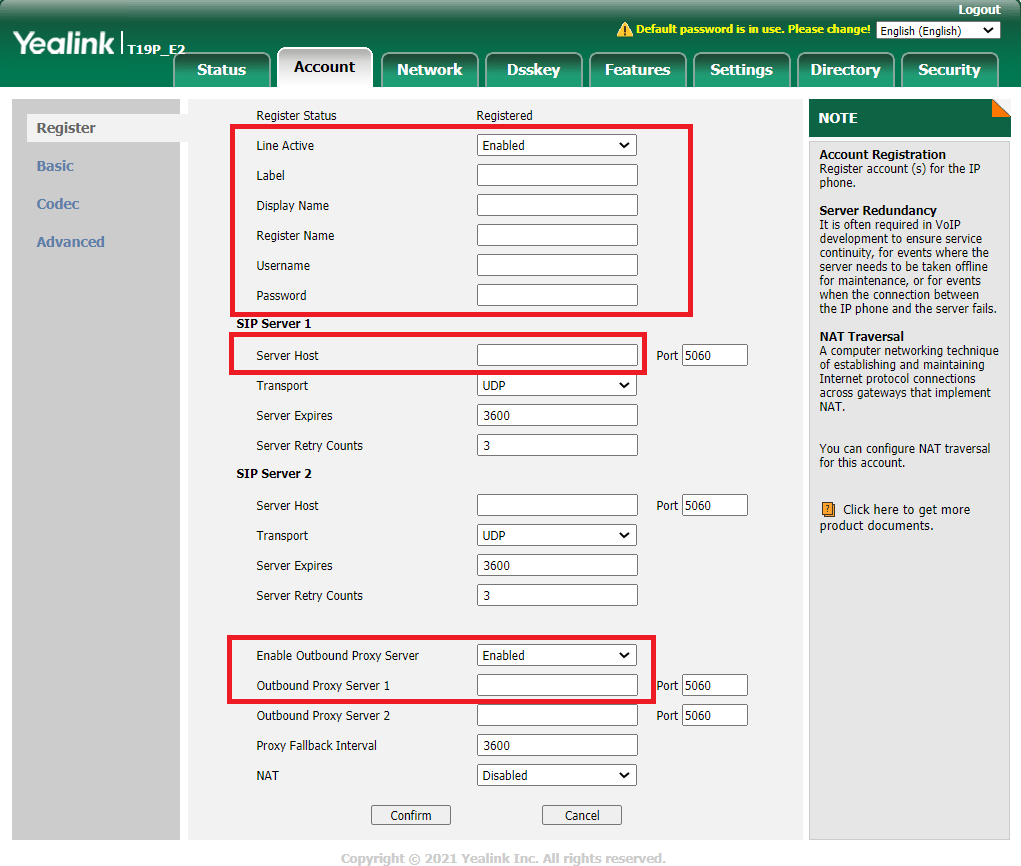
**Register Usage Information:** Click the “Account” tab. Fill in the required information:
* **Line Active:** Select Enable to activate usage.
* **Label, Display Name, Register Name, User Name:** Enter the extension number you need to register.
* **Password:** Information will be provided.
* **Server Host:** Information will be provided.
* **Enable Outbound Proxy Server:** Select Enable to activate usage.
* **Outbound Proxy Server 1:** Information will be provided.
**After entering all the information, select “Confirm” to complete the registration.**
* If the “**Register Status**” displays “**Registered**” the registration is successful.
* If the “**Register Status**” displays “**Register Failed**” the registration was unsuccessful. (Check if the entered details are correct or change the “**Transport**” from UDP to TCP under the Server Host line)
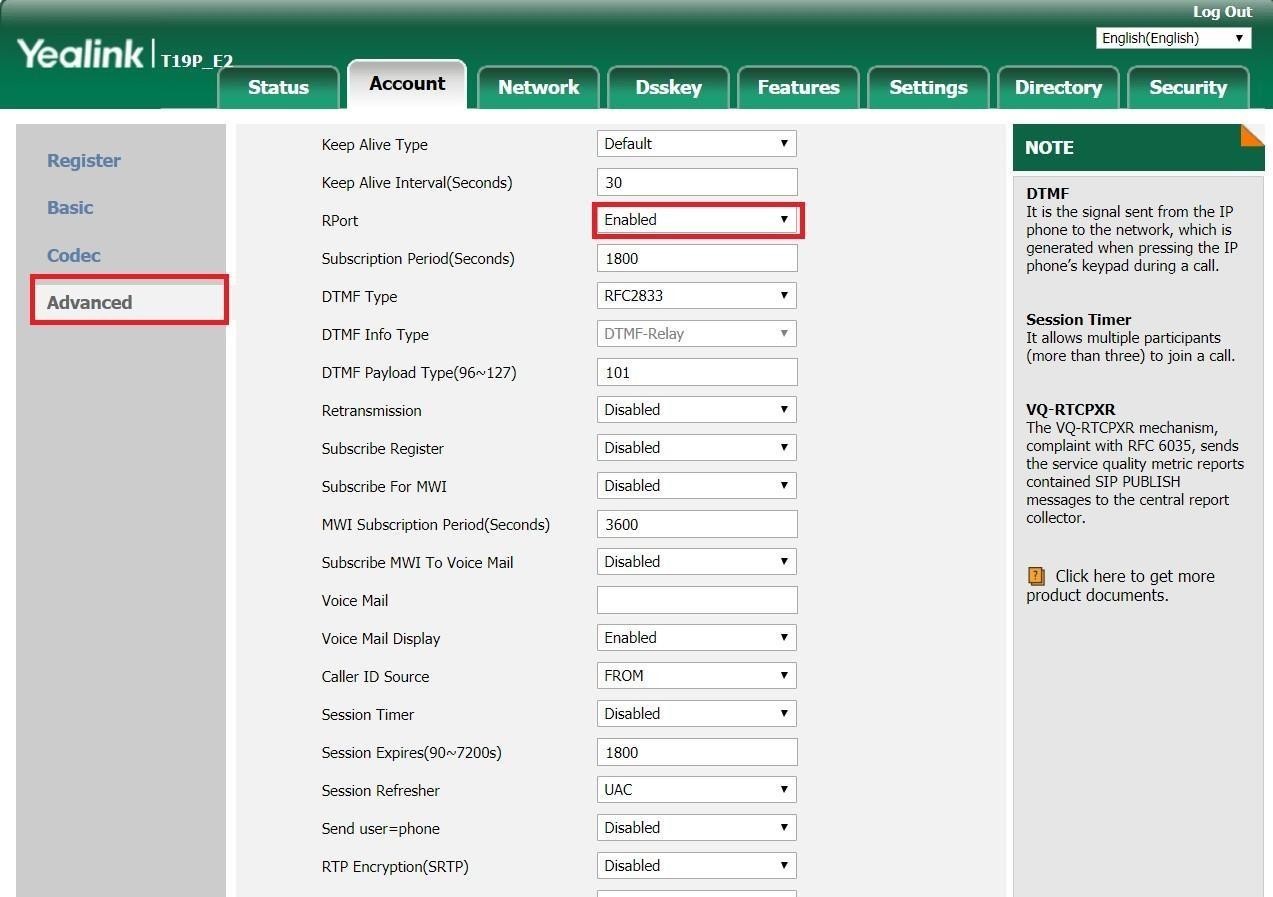
**Enable Rport + Additional Configuration**
Also, in the “**Account**” tab, select “**Advanced**”
* In the “**Rport**” section, select “**Enable**”
* Scroll down and select “**Confirm**” to save the configuration.
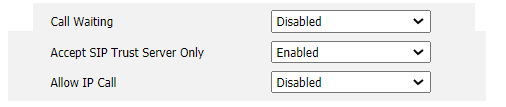
**Disable Call Waiting + Disable Ghost Call:**
* Click the “**Features**” tab and select “**General Information**”
* Click “**Confirm**” to apply the settings.
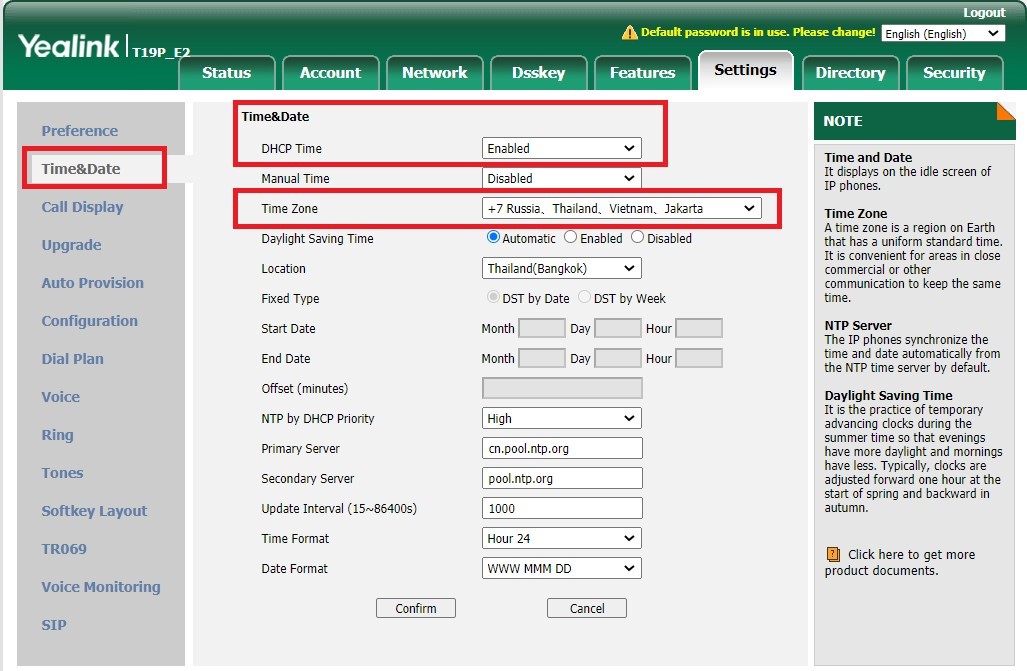
**Adjust Time:**
* Select the “**Settings**” tab and click on “**Time & Date**”
Click “**Confirm**” to apply the settings.
---
# Agent Instructions
This documentation is published with GitBook. GitBook is the documentation platform designed so that both humans and AI agents can read, navigate, and reason over technical content effectively. Learn more at gitbook.com.
## Querying This Documentation
If you need additional information that is not directly available in this page, you can query the documentation dynamically by asking a question.
Perform an HTTP GET request on the current page URL with the `ask` query parameter:
```
GET https://docs.voicecloud.my/pbx/common-problems/configuration-guide-for-yealink-phones.md?ask=
```
The question should be specific, self-contained, and written in natural language.
The response will contain a direct answer to the question and relevant excerpts and sources from the documentation.
Use this mechanism when the answer is not explicitly present in the current page, you need clarification or additional context, or you want to retrieve related documentation sections.